Coffee Espresso Brownies with Mocha Frosting Recipe
Introduction
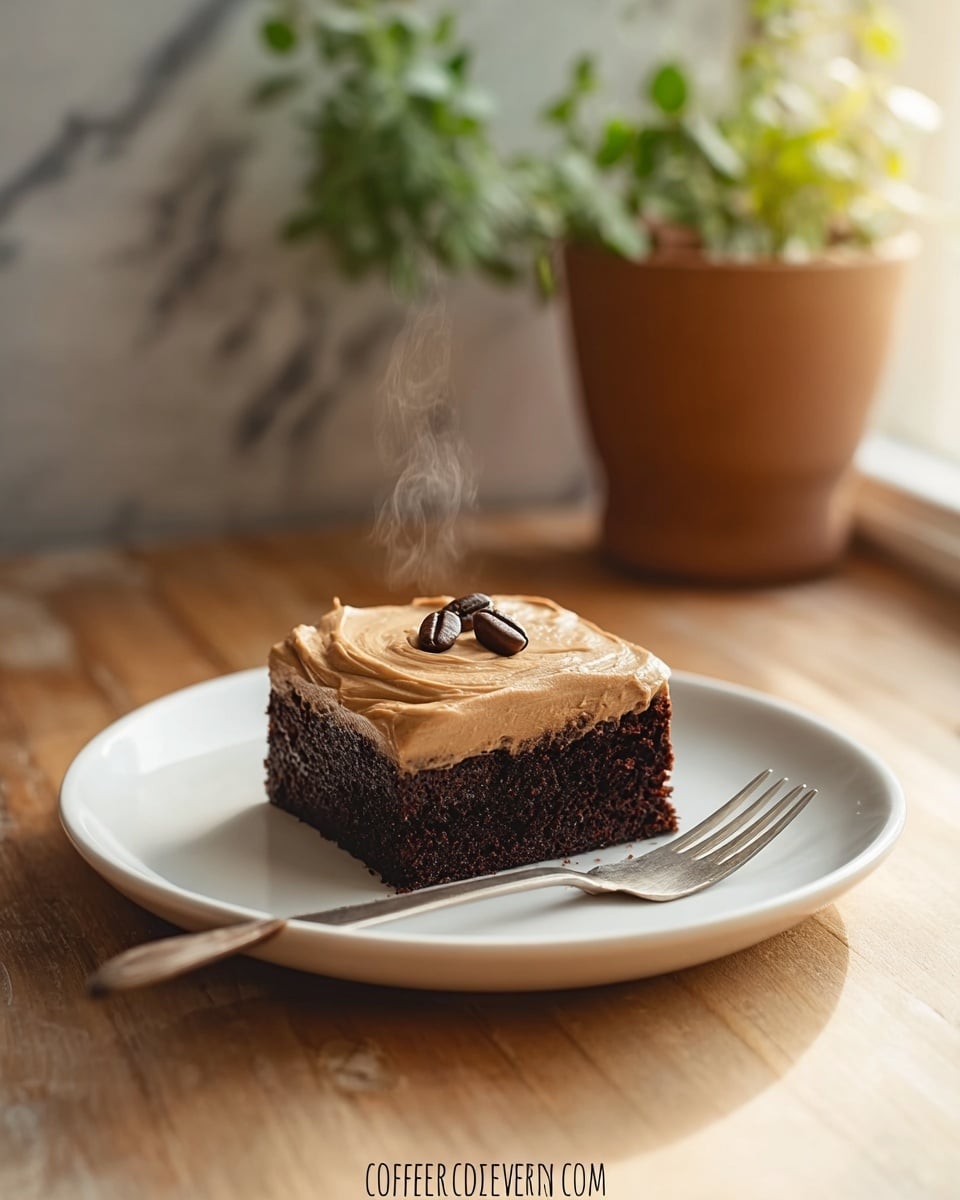
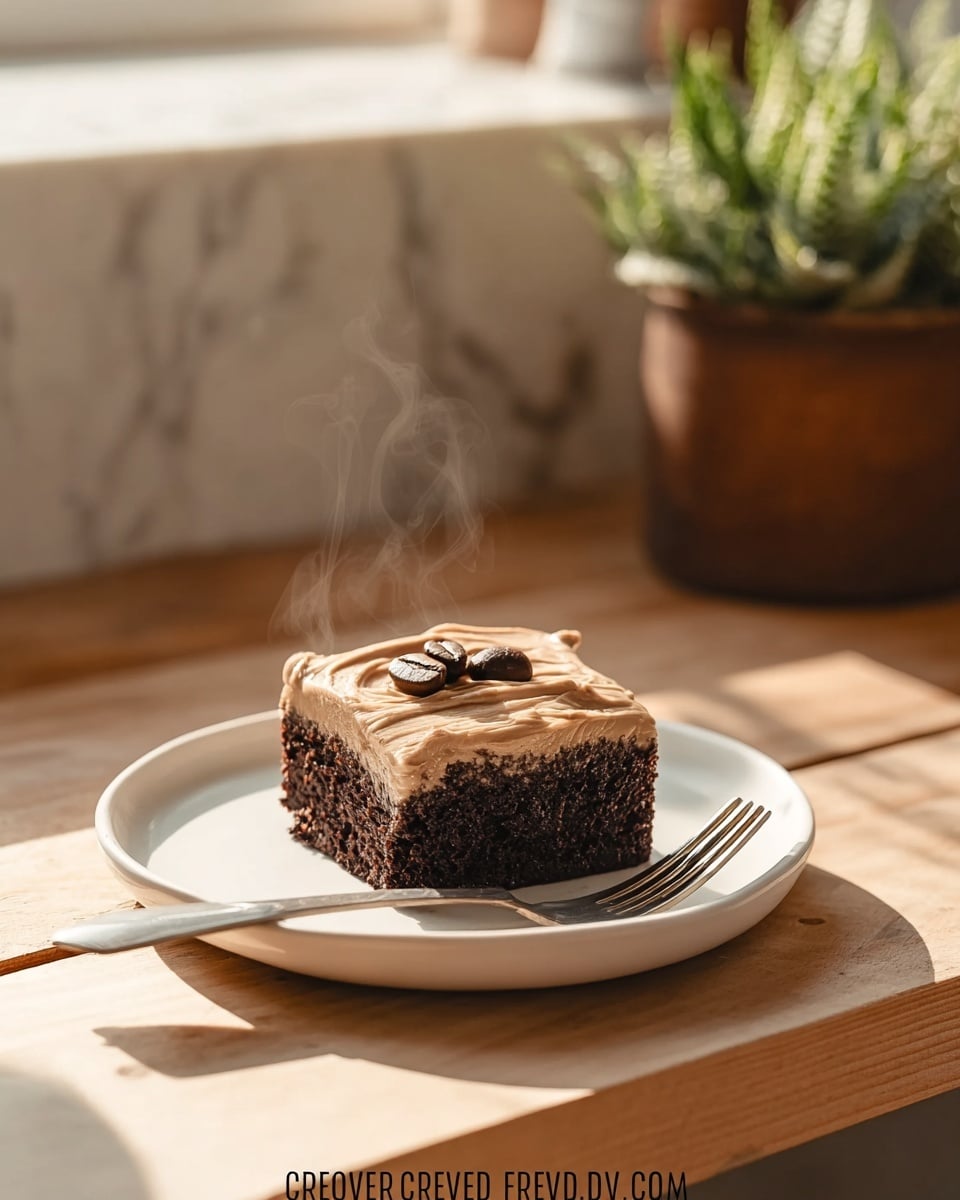
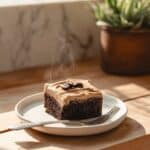
Indulge in the rich, fudgy goodness of coffee brownies enhanced with a luscious mocha frosting. This recipe combines the deep flavors of espresso and chocolate for a treat that’s perfect anytime you crave something decadent and comforting.
Ingredients
- 1/2 cup (113g) unsalted butter, melted
- 1 cup (200g) granulated sugar
- 2 large eggs, at room temperature
- 1 teaspoon vanilla extract
- 1/3 cup (32g) unsweetened cocoa powder, sifted
- 2 tablespoons instant espresso powder
- 1/2 cup (60g) all-purpose flour
- 1/4 teaspoon baking powder
- 1/4 teaspoon salt
- 1/2 cup (85g) semi-sweet chocolate chips
- For the Mocha Frosting:
- 1/4 cup (57g) unsalted butter, softened
- 1 1/2 cups (180g) powdered sugar, sifted
- 3 tablespoons unsweetened cocoa powder, sifted
- 1 tablespoon strong brewed coffee, cooled
- 1/2 teaspoon vanilla extract
- A pinch of salt
Instructions
- Step 1: Preheat your oven to 350°F (175°C). Line an 8×8 inch baking pan with parchment paper, leaving some overhang for easy removal later. In a medium bowl, whisk together the flour, sifted cocoa powder, baking powder, and salt. Set aside.
- Step 2: In a larger bowl, combine the melted butter and granulated sugar, whisking until well blended. Add the eggs one at a time, whisking thoroughly after each addition until smooth and glossy. Stir in the vanilla extract and instant espresso powder until fully dissolved.
- Step 3: Gently fold the dry ingredients into the wet mixture just until no dry streaks remain. Avoid overmixing to keep a fudgy texture. Fold in the semi-sweet chocolate chips. Pour the batter evenly into the prepared pan.
- Step 4: Bake for 25-30 minutes. A toothpick inserted in the center should come out with moist crumbs but no wet batter. Let brownies cool completely in the pan on a wire rack.
- Step 5: To make the mocha frosting, beat the softened butter until creamy. Gradually add powdered sugar, cocoa powder, coffee, vanilla, and salt. Beat until light and fluffy. Spread the frosting evenly over the cooled brownies. Allow frosting to set before slicing and serving.
Tips & Variations
- For deeper coffee flavor, whisk cocoa powder and espresso powder into hot melted butter before adding sugar.
- Cool brownies completely before frosting and cutting to ensure clean, easy slices.
- Try crumbling leftover brownies over yogurt or in a trifle for a tasty dessert twist.
- Use the back of a spoon to create gentle swirls in the frosting for an elegant finish.
Storage
Store cooled and frosted brownies in an airtight container at room temperature for up to 3 days. For longer storage, refrigerate up to one week or freeze up to 3 months. Reheat briefly at room temperature before serving to soften the frosting.
How to Serve
Serve this delicious recipe with your favorite sides.
FAQs
Can I make these brownies without espresso powder?
Yes, you can omit the espresso powder for a classic chocolate brownie flavor. The espresso enhances the chocolate depth but is not essential.
How do I know when the brownies are done baking?
Insert a toothpick into the center; it should come out with moist, fudgy crumbs but no raw batter. The edges will look set and the top slightly cracked.
PrintCoffee Espresso Brownies with Mocha Frosting Recipe
Indulge in these rich and fudgy Coffee Brownies infused with a deep espresso flavor and topped with a decadent mocha frosting. Perfectly balanced with chocolate chips for gooey pockets of joy, these brownies are a coffee lover’s dream come true, combining intense coffee aroma with luscious chocolate in every bite.
- Prep Time: 15 minutes
- Cook Time: 25 to 30 minutes
- Total Time: 45 minutes
- Yield: 16 brownies (cut into 4x4 squares) 1x
- Category: Dessert
- Method: Baking
- Cuisine: American
Ingredients
For the Coffee Brownies
- 1/2 cup (113g) unsalted butter, melted
- 1 cup (200g) granulated sugar
- 2 large eggs, at room temperature
- 1 teaspoon vanilla extract
- 1/3 cup (32g) unsweetened cocoa powder, sifted
- 2 tablespoons instant espresso powder
- 1/2 cup (60g) all-purpose flour
- 1/4 teaspoon baking powder
- 1/4 teaspoon salt
- 1/2 cup (85g) semi-sweet chocolate chips
For the Mocha Frosting
- 1/4 cup (57g) unsalted butter, softened
- 1 1/2 cups (180g) powdered sugar, sifted
- 3 tablespoons unsweetened cocoa powder, sifted
- 1 tablespoon strong brewed coffee, cooled
- 1/2 teaspoon vanilla extract
- A pinch of salt
Instructions
- Preheat and Prepare Pan: Preheat your oven to 350°F (175°C). Line an 8×8 inch baking pan with parchment paper, leaving an overhang on the sides to easily lift the brownies out later. In a medium bowl, sift together the flour, cocoa powder, baking powder, and salt, then set aside.
- Mix Wet Ingredients: In a large bowl, whisk the melted butter and granulated sugar together until well combined. Add the eggs one at a time, whisking thoroughly after each addition until the mixture is smooth and glossy. Stir in vanilla extract and instant espresso powder until fully dissolved and fragrant.
- Combine and Fold: Gradually add the dry ingredient mixture to the wet ingredients. Fold gently with a spatula until no dry streaks remain—avoid overmixing to keep the brownies fudgy. Fold in the semi-sweet chocolate chips evenly. Pour the batter into the prepared pan and spread it out in an even layer.
- Bake and Cool: Bake for 25-30 minutes, or until a toothpick inserted in the center comes out with moist crumbs but no wet batter. The edges should be set and the top crackly. Let the brownies cool completely in the pan on a wire rack.
- Prepare Mocha Frosting: While the brownies cool, beat the softened butter until creamy. Gradually add powdered sugar, cocoa powder, cooled brewed coffee, vanilla extract, and a pinch of salt. Beat until the frosting is light and fluffy.
- Frost and Set: Spread the mocha frosting evenly over the cooled brownies. Let the frosting set for at least 30 minutes before cutting into squares and serving.
Notes
- For a stronger coffee flavor, bloom the cocoa powder and espresso powder by whisking them into the hot melted butter for one minute before adding sugar.
- Allow brownies to cool completely before cutting to ensure clean cuts and maintain the fudgy texture; chilling in the fridge for 30 minutes helps.
- These brownies are versatile – crumble over yogurt or use in trifles for an extra chocolatey coffee treat.
- Use parchment paper with an overhang to easily lift the brownies out of the pan for neat slicing.
- Do not overbake to avoid dry, cakey brownies; slight under-doneness in the center is ideal.
Keywords: coffee brownies, mocha frosting, espresso brownies, chocolate coffee dessert, fudgy brownies, homemade brownies, rich brownies