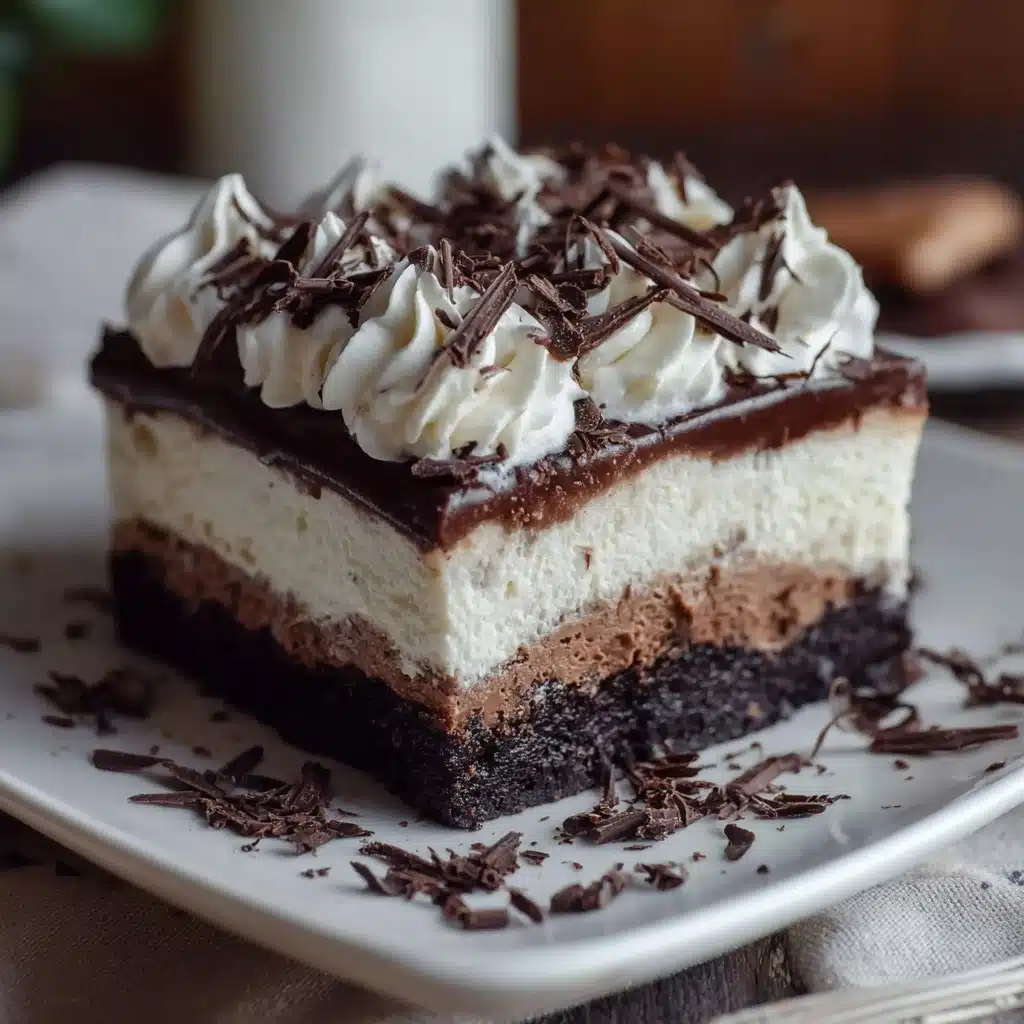
Brownie Refrigerator Cake Recipe
If you’re searching for a luscious, crowd-pleasing dessert that feels like a hug on a plate, look no further than this Brownie Refrigerator Cake. It’s the perfect combo of fudgy brownie, creamy layers, and silky pudding, all chilled to creamy perfection. This no-bake delight transforms simple ingredients into a rich, indulgent treat that’s as easy to assemble as it is to love. Whether you’re making it for a casual family dessert or a special occasion, the Brownie Refrigerator Cake brings smiles with every bite.

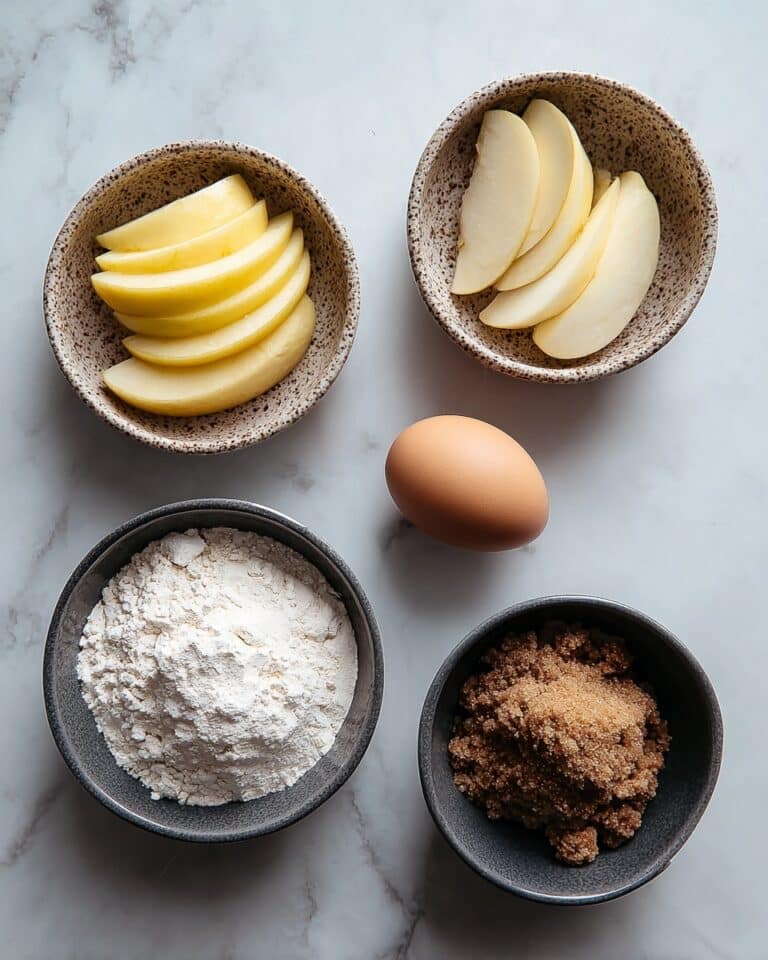
Ingredients You’ll Need
This Brownie Refrigerator Cake calls for familiar ingredients that each play a special role in creating the perfect balance of flavors and textures. From fudgy brownies to fluffy whipped topping and smooth pudding, every component comes together effortlessly.
- Brownie mix (9×13 pan size): The base of the cake providing a rich, chocolatey foundation.
- Extra-large egg: Adding an extra egg makes the brownies fudgier and more moist than usual.
- Cream cheese (8 oz), softened: Creates a creamy, slightly tangy layer that pairs beautifully with the chocolate.
- Powdered sugar (1 cup): Sweetens the cream cheese mixture without graininess.
- Whipped topping (2 containers, 8 oz each): Adds lightness and airy texture to both the cream cheese layer and the topping.
- Chocolate instant pudding (3 oz): Provides rich chocolate flavor and thickens the pudding layer.
- Vanilla instant pudding (3 oz): Adds a creamy, smooth vanilla contrast to the chocolate pudding.
- Milk (3 1/2 cups): Used to prepare the puddings and ensures a silky consistency.
- Hershey bar or chocolate syrup: For decadent chocolate shavings or drizzle that finish the cake with style.
How to Make Brownie Refrigerator Cake
Step 1: Bake the Brownies
Start by preparing the brownie mix according to the package directions, but don’t forget to add the extra-large egg for that unbelievably fudgy texture. Baking the brownies in a 9×13 pan sets the stage for the layers to come. Once baked, set the brownies aside to cool completely. Cooling is key because the next layers need a firm base to hold their shape beautifully.
Step 2: Make the Cream Cheese Layer
While your brownies are cooling, whip up the cream cheese layer by blending softened cream cheese, powdered sugar, and one container of whipped topping. This mixture becomes luxuriously smooth and slightly tangy, creating a delightful contrast against the rich brownie base. Spread this creamy layer evenly over the cooled brownies, transforming the dessert into a multi-textured delight.
Step 3: Prepare the Pudding Layer
Next, whisk together the instant chocolate and vanilla pudding mixes with milk until the mixture thickens to the perfect creamy consistency. This dual-flavor pudding layer adds a luscious, velvety element that’s both rich and refreshing. Carefully spread this pudding over the cream cheese layer, creating a beautiful, indulgent middle ground.
Step 4: Top with Whipped Topping
Finish off the cake by spreading the remaining container of whipped topping over the pudding layer. Smooth it out evenly with a spatula to form a light, airy cap. This final touch brings a fluffy contrast to the dense brownie and dense pudding beneath, making every forkful irresistibly balanced.
Step 5: Garnish and Chill
For a final flourish, sprinkle chocolate shavings made from a Hershey bar or drizzle chocolate syrup across the top. These finishing touches don’t just look pretty—they add bursts of rich chocolate flavor to each bite. Refrigerate the entire cake for at least two hours before serving to allow the layers to set and meld beautifully.
How to Serve Brownie Refrigerator Cake
Garnishes
To elevate your Brownie Refrigerator Cake even more, consider adding a few extra touches like fresh berries, a dusting of cocoa powder, or a sprinkle of chopped nuts. These add freshness, texture, and color contrast that make each slice feel like a mini celebration.
Side Dishes
This dessert pairs wonderfully with a scoop of vanilla bean ice cream or a dollop of freshly whipped cream. If you want to add a fruity side, a simple berry compote or sliced strawberries complement the rich chocolate flavors perfectly.
Creative Ways to Present
For a fun twist, serve the Brownie Refrigerator Cake in individual parfait glasses, layering bite-sized brownie chunks with the cream cheese and pudding mixtures. Alternatively, cut the cake into neat squares and arrange them on a decorative platter, garnished with mint leaves for a pop of color.
Make Ahead and Storage
Storing Leftovers
Your Brownie Refrigerator Cake keeps well when covered tightly with plastic wrap or stored in an airtight container in the refrigerator. It stays fresh and flavorful for up to 4 days, making it perfect for prepping ahead or enjoying throughout the week.
Freezing
If you want to keep this cake longer, you can freeze it by wrapping it thoroughly in plastic wrap and then in foil. To thaw, transfer the cake to the refrigerator for several hours or overnight to maintain its creamy texture and prevent condensation from ruining the layers.
Reheating
Since this is a chilled dessert with pudding and whipped topping, reheating is not recommended. Brownie Refrigerator Cake is best served cold, allowing all the creamy layers to hold their shape and flavor at their peak.
FAQs
Can I make the brownies from scratch instead of using a mix?
Absolutely! Using homemade brownies works wonderfully and lets you customize the flavor and texture just the way you like. Just be sure they are fully cooled before starting the layering process.
What if I can’t find both chocolate and vanilla pudding mixes?
Using just one flavor is fine too, but combining chocolate and vanilla pudding gives a lovely depth and balance of flavor that makes this dessert extra special.
Can I use regular whipped cream instead of whipped topping?
Yes! Freshly whipped cream can make the cake taste even fresher and lighter. Just make sure it is stabilized if you want the cake to hold longer without weeping.
Is this dessert suitable for a large party?
Definitely! The 9×13 pan size makes it perfect for serving a crowd, and it’s easy to double the recipe if you need even more. Just prepare as directed and layer evenly in a larger dish.
How far in advance can I prepare the Brownie Refrigerator Cake?
You can assemble it up to 24 hours ahead and refrigerate. This resting time actually helps the flavors blend together nicely and improves the texture, making it even more delicious the next day.
Final Thoughts
There’s something truly magical about the Brownie Refrigerator Cake that combines ease, richness, and elegance all in one dessert. Whether you’re new to no-bake cakes or a seasoned dessert lover, this recipe will quickly become a beloved favorite to reach for again and again. So go ahead, treat yourself and your loved ones to this creamy, fudgy delight—you’ll be glad you did!
PrintBrownie Refrigerator Cake Recipe

This luscious Brownie Refrigerator Cake is a decadent no-bake dessert that combines fudgy brownies with layers of creamy cream cheese, instant pudding, and whipped topping. Perfect for chocolate lovers, it’s an easy-to-make, crowd-pleasing treat that requires chilling rather than baking after the brownie base is prepared.
- Prep Time: 20 minutes
- Cook Time: 25 minutes
- Total Time: 2 hours 45 minutes
- Yield: 12 servings 1x
- Category: Dessert
- Method: Baking and No-Bake Assembly
- Cuisine: American
- Diet: Vegetarian
Ingredients
Brownie Base
- 1 brownie mix (9×13 pan size)
- 1 additional extra-large egg
Cream Cheese Layer
- 1 package cream cheese (8 oz), softened
- 1 cup powdered sugar
- 1 container whipped topping (8 oz)
Pudding Layer
- 1 package chocolate instant pudding (3 oz)
- 1 package vanilla instant pudding (3 oz)
- 3 1/2 cups milk
Topping
- 1 container whipped topping (8 oz)
- 1 Hershey bar (for shavings) or chocolate syrup
Instructions
- Prepare the Brownies: Follow the brownie mix package instructions and add one extra large egg to the batter for a fudgier texture. Pour the batter into a 9×13 inch pan and bake as directed. Allow the brownies to cool completely before proceeding to the next step.
- Make the Cream Cheese Layer: In a mixing bowl, combine the softened cream cheese, powdered sugar, and one container of whipped topping. Whip until smooth and creamy. Spread this mixture evenly over the cooled brownie base.
- Prepare the Pudding Layer: In a separate bowl, whisk together the chocolate and vanilla instant pudding mixes with 3 1/2 cups of milk until the mixture thickens. Spread this pudding layer evenly over the cream cheese layer.
- Add the Final Topping: Spread the remaining container of whipped topping evenly over the pudding layer to create a smooth top layer.
- Garnish and Chill: Garnish the top with chocolate shavings made from the Hershey bar or drizzle chocolate syrup over the cake. Refrigerate the entire cake for at least 2 hours to allow the layers to set and flavors to meld before serving.
Notes
- For best results, use extra-large eggs to ensure proper texture.
- Make sure the brownies are completely cooled to prevent melting the cream cheese layer.
- Use full-fat cream cheese and whipped topping for the creamiest consistency.
- Chill the cake for a minimum of 2 hours; overnight chilling intensifies the flavors.
- Optional: substitute chocolate syrup with dark chocolate shavings for a richer garnish.
Nutrition
- Serving Size: 1 slice (approximately 1/12 of cake)
- Calories: 420
- Sugar: 32g
- Sodium: 210mg
- Fat: 22g
- Saturated Fat: 12g
- Unsaturated Fat: 8g
- Trans Fat: 0.5g
- Carbohydrates: 52g
- Fiber: 2g
- Protein: 5g
- Cholesterol: 50mg
Keywords: brownie refrigerator cake, layered brownie dessert, no bake cake, chocolate pudding dessert, whipped topping dessert