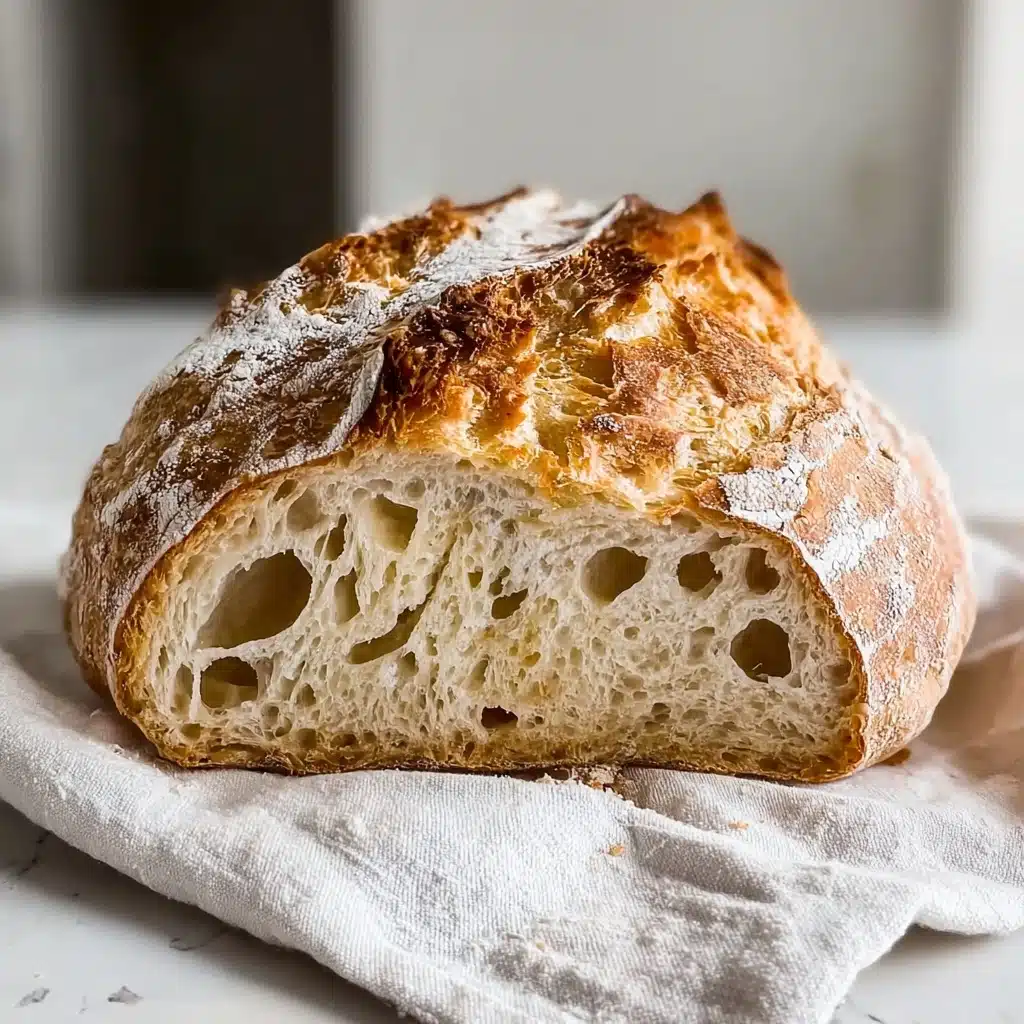
Artisan Bread
If you have ever craved that perfectly crusty, golden loaf that feels like it was made by a passionate artisan, you’re in for a treat. This Artisan Bread recipe is a simple yet magical way to bring bakery-quality bread right into your kitchen. With just a handful of humble ingredients and a little patience, you can create a loaf with an irresistible crunchy crust and a soft, chewy interior that tells the story of slow fermentation and loving hands. Trust me, there is truly something special about homemade Artisan Bread that makes every meal feel cozy and celebratory.

Ingredients You’ll Need
These ingredients are straightforward and familiar, but each plays a vital role in creating that perfect texture, flavor, and rustic look that defines Artisan Bread. Simple pantry staples become the foundation of something spectacular.
- 3 cups (395 grams) all-purpose or bread flour: Provides the structure and chewiness; bread flour adds extra protein for a robust crumb.
- ½ tablespoon kosher salt: Enhances flavor and tightens the gluten network for a balanced taste and texture.
- ¼ ounce instant or active dry yeast (2 ¼ teaspoons): The little miracle worker that helps the dough rise and develop that airy texture.
- 1 ½ cups warm water (105°F): Activates yeast and hydrates the flour, producing that familiar sticky dough that’s key to Artisan Bread’s charm.
How to Make Artisan Bread
Step 1: Mix Your Dry Ingredients
Start by combining the flour, salt, and yeast in a large bowl. This step ensures the salt and yeast are evenly distributed throughout the flour. It’s important to keep the yeast separate from the salt until mixed because salt can inhibit yeast activity if added directly at first.
Step 2: Add Warm Water and Mix
Pour the warm water over the combined dry ingredients and gently mix everything together until just combined. The dough should feel sticky but still manageable. This wet, tacky dough is a hallmark of Artisan Bread, contributing to its open crumb and moist texture inside.
Step 3: Let the Dough Rise
Cover the bowl loosely with a towel or plastic wrap and leave it at room temperature to rise. Let it rest anywhere from 2 to 10 hours, or even overnight for the best flavor. This slow rise allows the yeast to ferment and develop deep, complex flavor notes that commercial breads often lack.
Step 4: Shape the Loaf
Wet your hands to prevent sticking and carefully turn the risen dough onto a lightly floured surface. Fold the edges gently toward the center to form a round loaf, or divide the dough into two smaller loaves and tuck the ends underneath. This shaping is what gives Artisan Bread its classic rustic appearance.
Step 5: Rest and Score the Dough
Transfer your shaped dough onto parchment paper, dust the surface lightly with flour, and score 1 to 4 lines on top with a sharp bread knife. This scoring allows the dough to expand in a controlled manner while baking. Let the dough rest for 20 to 30 minutes while you prepare the oven.
Step 6: Prepare the Oven
Preheat your oven to 450°F, placing a baking stone, pizza stone, Dutch oven, or iron skillet inside to heat thoroughly. A hot surface mimics the intense heat of professional bread ovens, giving your loaf that irresistible crust.
Step 7: Bake with Steam
Carefully slide the dough along with the parchment onto the hot baking surface. Immediately add 1 cup of hot water or 5 ice cubes to the bottom of the oven to create steam—this is the secret to a crunchy, crackling crust. Quickly close the oven door to trap the steam and bake for 25 to 30 minutes until beautifully golden.
Step 8: Cool Before Slicing
Once out of the oven, let the loaf cool completely on a wire rack for at least 30 minutes. This resting period finishes the cooking process inside and ensures the crumb sets perfectly without becoming gummy when sliced.
How to Serve Artisan Bread
Garnishes
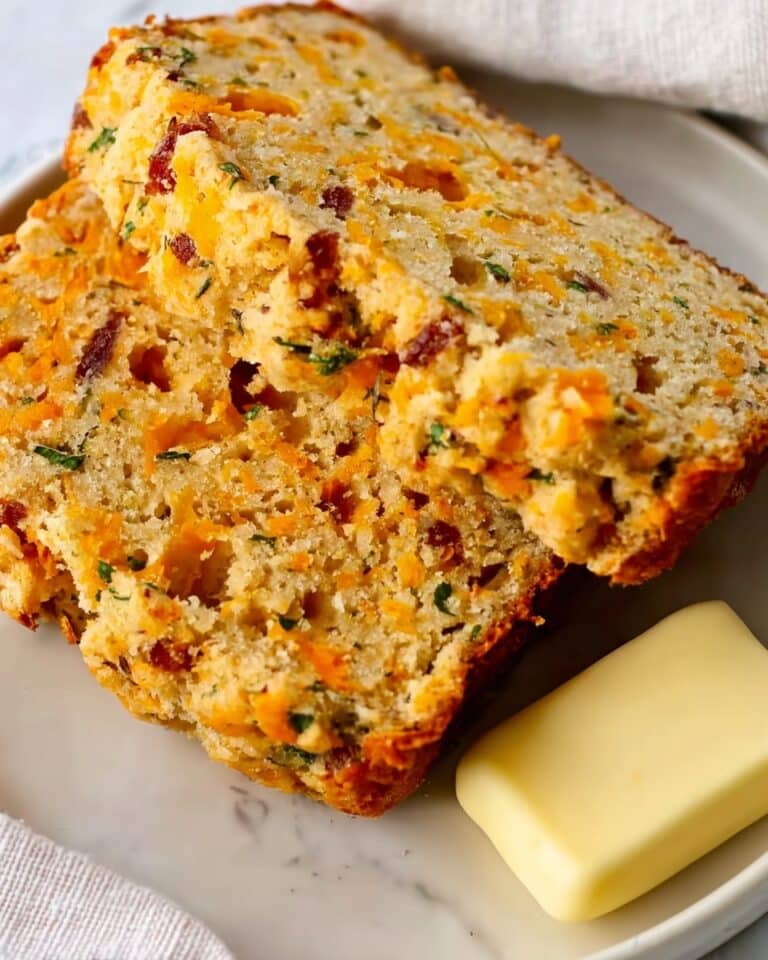
Artisan Bread shines best with simple garnishes that enhance its natural flavor and texture. Try topping a slice with a smear of high-quality butter or a drizzle of extra virgin olive oil and a sprinkle of flaky sea salt. Fresh herbs, crushed garlic, or a light brushing of herb-infused oils make gorgeous and flavorful additions too.
Side Dishes
This bread is a superstar companion for countless meals. Pair it alongside hearty stews, creamy soups, or vibrant salads. It’s also fabulous with cheese boards, charcuterie platters, or simply dipped in balsamic vinegar and olive oil. The versatility of Artisan Bread makes it a must-have staple in your kitchen.
Creative Ways to Present
For a rustic, inviting display, slice your Artisan Bread thickly and arrange it in a basket lined with a linen napkin. You can also hollow out a loaf to create an edible bowl for dips or soups. Another fun twist is to toast slices lightly and top them with bruschetta toppings for an elegant appetizer guaranteed to impress guests.
Make Ahead and Storage
Storing Leftovers
To keep your Artisan Bread fresh, store it in a paper bag at room temperature. This protects the crust, keeping it crisp while preventing the interior from drying out too quickly. Avoid plastic bags, which tend to trap moisture and make the crust soft.
Freezing
If you want to enjoy your bread later, slicing it before freezing makes a lot of sense. Wrap slices tightly in plastic wrap and place them in a freezer-safe bag. This way, you can toast individual slices as needed without thawing a whole loaf.
Reheating
To revive the crunch and warmth of your Artisan Bread, reheat it in a 350°F oven for 5 to 10 minutes. Using a baking stone or preheated pan enhances crispness beautifully. Avoid microwaving, as that tends to make bread rubbery and chewy instead of delightful.
FAQs
Can I use whole wheat flour instead of all-purpose flour?
Yes, you can substitute whole wheat flour for all or part of the flour, but keep in mind this will create a denser loaf with a nuttier flavor. You may need to add a little extra water since whole wheat absorbs more moisture.
Why is my bread not rising properly?
This could be due to yeast that is expired, water that’s too hot or cold, or insufficient rising time. Make sure you use fresh yeast and maintain water temperature around 105°F to activate it gently.
Do I need any special equipment for baking Artisan Bread?
A baking stone or a Dutch oven helps replicate the conditions of a professional bread oven, but you can also use a thick baking sheet and add a pan of water to the oven for steam. The key is high heat and moisture to develop crust and texture.
How long does Artisan Bread stay fresh?
Freshly baked Artisan Bread tastes best within 1 to 2 days. Store it properly in a paper bag to keep the crust crisp. After that, it’s still great toasted or used in recipes like bread pudding or croutons.
Can I add herbs or other flavors to the dough?
Absolutely! Adding chopped herbs, garlic, olives, or even cheese to the dough before the rise can infuse your Artisan Bread with exciting flavors. Just be mindful that additions might slightly alter dough hydration and baking times.
Final Thoughts
Making Artisan Bread at home is one of those simple pleasures that fills your kitchen with warmth and your table with joy. Once you taste that crunchy crust and tender crumb you made with your own hands, you’ll never want store-bought bread again. Grab your ingredients, embrace the process, and fall in love with baking all over again.
PrintArtisan Bread
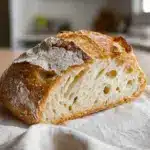
This artisan bread recipe yields a crusty, golden loaf with a chewy, flavorful crumb—perfect for sandwiches, toast, or accompanying your favorite meals. Made simply with flour, yeast, salt, and water, it requires minimal hands-on time but benefits from a long, slow rise to develop its signature taste and texture.
- Prep Time: 10 minutes
- Cook Time: 30 minutes
- Total Time: 2 to 10 hours rising plus 40 minutes (including baking and cooling)
- Yield: 1 large loaf or 2 smaller loaves 1x
- Category: Bread
- Method: Baking
- Cuisine: American/European Artisan
- Diet: Vegetarian
Ingredients
Main Ingredients
- 3 cups (395 grams) all-purpose flour or bread flour
- ½ tablespoon kosher salt
- ¼ ounce instant or active dry yeast packet (or 2 ¼ teaspoons)
- 1 ½ cups warm water (105°F)
Instructions
- Mix Dry Ingredients: In a large bowl, combine the flour, kosher salt, and yeast thoroughly to ensure even distribution.
- Add Water and Combine: Pour the warm water (ideally 105°F) over the dry ingredients and mix until the mixture forms a sticky but manageable dough.
- First Rise: Cover the bowl with a towel or plastic wrap and let the dough rise at room temperature for 2 to 10 hours, or preferably overnight to enhance the flavor and texture.
- Shape the Loaf: After rising, wet your hands to prevent sticking, then turn the dough onto a lightly floured surface. Gently fold the edges into the center to form a round loaf or divide the dough into two smaller loaves, tucking the ends underneath to create tension.
- Second Rest: Place the shaped dough on parchment paper. Dust the top with flour and score 1 to 4 shallow lines across the surface with a bread knife to allow for expansion during baking. Let it rest for 20 to 30 minutes.
- Preheat Oven: Preheat your oven to 450°F, positioning a baking stone, pizza stone, Dutch oven, or an iron skillet inside to heat thoroughly.
- Create Steam and Bake: Slide the dough on its parchment paper onto the preheated hot surface. Add 1 cup of hot water or 5 ice cubes to the bottom of the oven to create steam, which helps develop a crustier crust. Close the oven quickly to trap steam.
- Bake the Bread: Bake for 25 to 30 minutes, until the loaf is golden brown and crusty.
- Cool: Remove the bread from the oven and cool on a wire rack for at least 30 minutes before slicing to allow the crumb to set properly.
- Storage: Store the bread in a paper bag at room temperature to help maintain crust crispness while preventing moisture buildup.
Notes
- Using bread flour will result in a chewier texture due to higher protein content compared to all-purpose flour.
- Longer rising times improve flavor and texture; overnight rise is ideal.
- Scoring the dough helps control expansion and contributes to the classic artisan look.
- Adding steam during baking is critical to developing a crisp, crackly crust.
- Allow bread to cool fully before slicing to avoid gummy texture.
- Store in paper bags rather than plastic to maintain crustiness.
Nutrition
- Serving Size: 1 slice (about 56 grams)
- Calories: 150
- Sugar: 0.1 g
- Sodium: 230 mg
- Fat: 1 g
- Saturated Fat: 0.1 g
- Unsaturated Fat: 0.5 g
- Trans Fat: 0 g
- Carbohydrates: 30 g
- Fiber: 1.5 g
- Protein: 5 g
- Cholesterol: 0 mg
Keywords: artisan bread, homemade bread, crusty bread, easy bread recipe, no-knead bread, bread baking