Peppermint Chocolate Blossom Cookies Recipe
Introduction
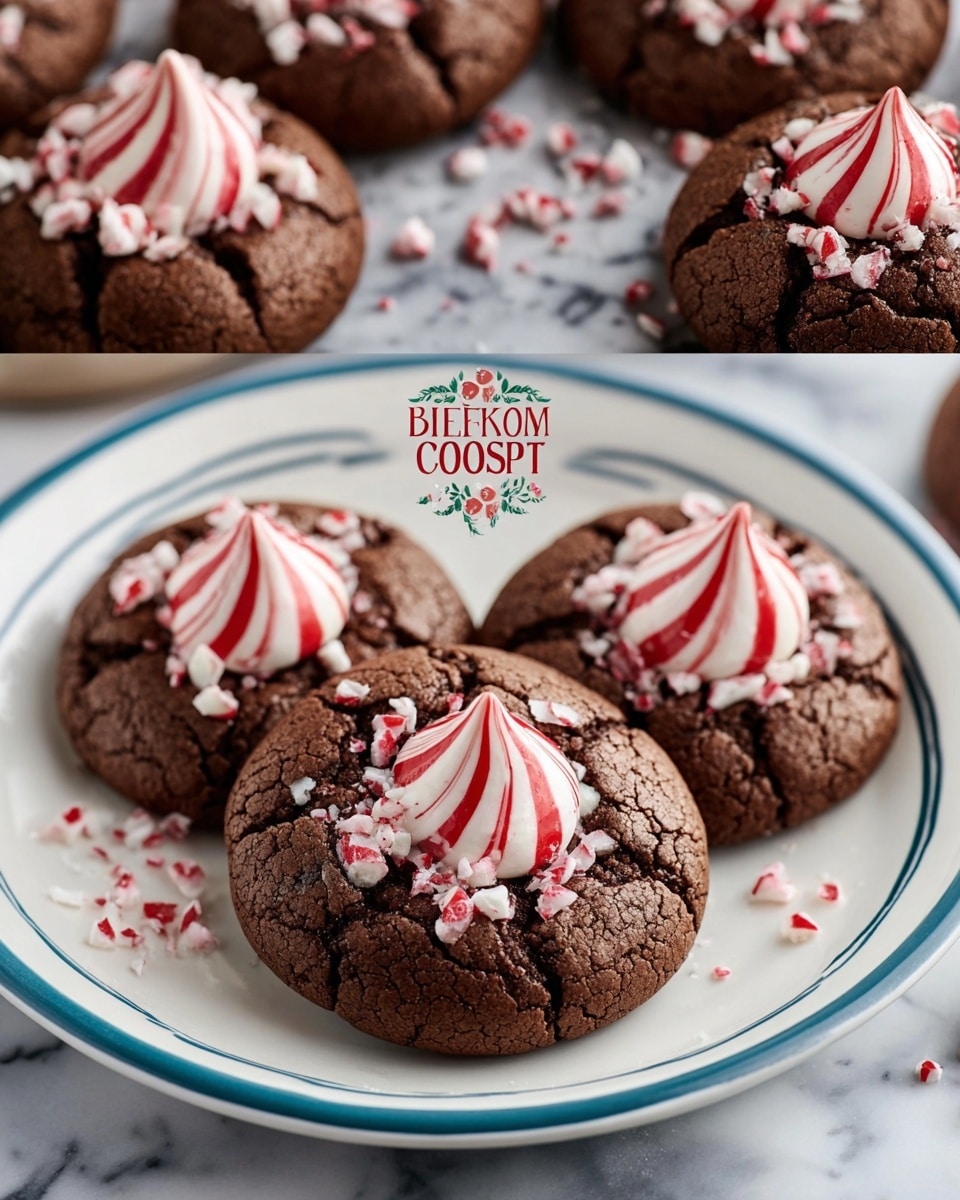
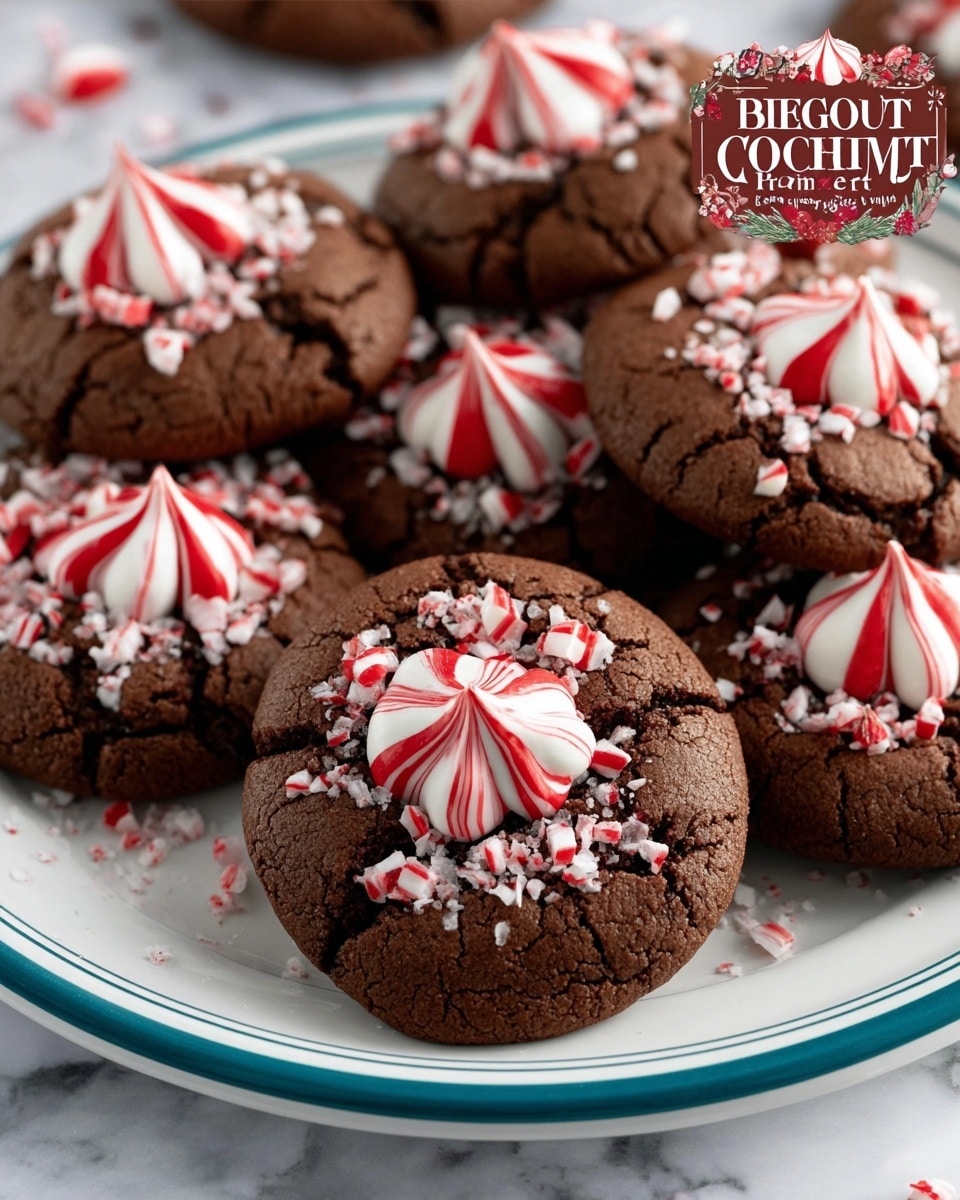
Peppermint Chocolate Blossom Cookies are a festive treat combining rich cocoa, sweet peppermint, and creamy chocolate kisses. These cookies are perfect for holiday gatherings or whenever you want a delightful chocolatey mint dessert.
Ingredients
- 1 cup all-purpose flour
- 1/2 cup unsweetened cocoa powder
- 1 tsp baking soda
- 1/4 tsp salt
- 1/2 cup unsalted butter, softened but still slightly firm
- 3/4 cup granulated sugar
- 1/4 cup packed brown sugar
- 1 large egg
- 1 tsp vanilla extract
- 2 tbsp milk
- 1/2 cup mini chocolate chips (optional, for extra richness)
- 1/2 cup crushed peppermint candies or candy canes
- 24 peppermint-striped chocolate kisses
Instructions
- Step 1: Preheat the oven to 350°F (175°C). Line two baking sheets with parchment paper. Using an oven thermometer helps ensure the temperature is accurate.
- Step 2: In a medium bowl, whisk together the flour, cocoa powder, baking soda, and salt until evenly mixed. Set aside.
- Step 3: In a large bowl, use an electric mixer to beat the softened butter with the granulated sugar and brown sugar until light and fluffy, about 2 to 3 minutes.
- Step 4: Beat in the egg, vanilla extract, and milk until the mixture is smooth and fully combined.
- Step 5: Gradually add the dry ingredients to the wet mixture, stirring gently until a dough forms. Fold in mini chocolate chips if using.
- Step 6: Cover the dough and refrigerate for about 30 minutes to help cookies keep their shape while baking.
- Step 7: Scoop or roll dough into 1-inch balls and place them 2 inches apart on the prepared baking sheets.
- Step 8: Bake for 8 to 10 minutes, until edges are set and centers appear slightly puffed.
- Step 9: While cookies bake, unwrap the peppermint-striped chocolate kisses and set aside.
- Step 10: Remove cookies from oven and immediately press a chocolate kiss into the center of each cookie gently to avoid cracking.
- Step 11: Sprinkle crushed peppermint candies on top of the warm cookies so they stick.
- Step 12: Let cookies cool on the baking sheet for 5 minutes, then transfer to a wire rack to cool completely. The chocolate kisses will soften from the heat but firm up as they cool.
Tips & Variations
- Make sure the butter is softened but still a bit firm to achieve the best texture.
- Chilling the dough helps prevent the cookies from spreading too much and keeps them chewy.
- Use an oven thermometer to maintain a consistent baking temperature for perfect results.
- For extra mint flavor, add 1/2 teaspoon peppermint extract to the wet ingredients.
- Substitute crushed peppermint candies with colored sanding sugar for a different festive look.
Storage
Store cooled cookies in an airtight container at room temperature for up to 5 days. To keep the chocolate kisses firm, avoid refrigerating. Reheat gently in a microwave for a few seconds if you prefer warm cookies.
How to Serve
Serve this delicious recipe with your favorite sides.
FAQs
Can I skip adding the mini chocolate chips?
Yes, the mini chocolate chips are optional. The cookies will still be rich and flavorful without them.
How can I prevent the cookies from spreading too much?
Chilling the dough before baking and using slightly firm softened butter helps control spreading. Also, spacing the dough balls properly on the baking sheet is important.
PrintPeppermint Chocolate Blossom Cookies Recipe

These Peppermint Chocolate Blossom Cookies combine a rich cocoa cookie base with a festive twist of peppermint. Soft, chocolaty cookies are topped with a peppermint-striped chocolate kiss and sprinkled with crushed peppermint candies, making them perfect for holiday celebrations or any time you crave a delightful minty chocolate treat.
- Prep Time: 15 minutes
- Cook Time: 10 minutes
- Total Time: 55 minutes
- Yield: 24 cookies 1x
- Category: Dessert
- Method: Baking
- Cuisine: American
Ingredients
For the Cookies
- 1 cup all-purpose flour
- 1/2 cup unsweetened cocoa powder
- 1 tsp baking soda
- 1/4 tsp salt
- 1/2 cup unsalted butter, softened but still slightly firm
- 3/4 cup granulated sugar
- 1/4 cup packed brown sugar
- 1 large egg
- 1 tsp vanilla extract
- 2 tbsp milk
- 1/2 cup mini chocolate chips (optional, for extra richness)
For the Topping
- 1/2 cup crushed peppermint candies or candy canes
- 24 peppermint-striped chocolate kisses
Instructions
- Preheat the Oven: Set the oven to 350°F (175°C) and line two baking sheets with parchment paper. Use an oven thermometer if available to ensure the temperature is accurate.
- Combine Dry Ingredients: In a medium bowl, whisk together the flour, cocoa powder, baking soda, and salt until evenly mixed. Set aside.
- Cream Butter and Sugars: In a large bowl, use an electric mixer to beat the softened but still slightly firm butter with the granulated sugar and brown sugar until the mixture is light and fluffy, about 2 to 3 minutes.
- Add Wet Ingredients: Beat in the egg, vanilla extract, and milk until the mixture is smooth and fully combined.
- Mix in Dry Ingredients: Gradually add the dry mixture to the wet ingredients, stirring just until a dough forms. Fold in the mini chocolate chips if using.
- Chill the Dough: Cover and refrigerate the dough for about 30 minutes to help the cookies maintain their shape during baking.
- Shape the Dough: After chilling, scoop the dough using a small cookie scoop or roll into 1-inch balls. Place them on prepared baking sheets spaced about 2 inches apart.
- Bake the Cookies: Bake for 8 to 10 minutes until edges are set and centers are slightly puffed but still soft. Avoid overbaking, as cookies will firm up while cooling.
- Prepare the Kisses: While cookies bake, unwrap the peppermint-striped chocolate kisses and set aside.
- Add the Kisses: Immediately after removing the cookies from the oven, press one chocolate kiss into the center of each cookie gently to avoid cracking.
- Add Peppermint Topping: While the cookies are still warm, sprinkle crushed peppermint candies over the tops so they stick to the soft surface.
- Cool the Cookies: Let cookies cool on the baking sheet for 5 minutes, then transfer to a wire rack to cool completely. Kisses will soften from heat but firm up as cookies cool.
Notes
- Ensure butter is softened but still slightly firm for best creaming results.
- Chilling the dough controls spreading and improves texture.
- Use an oven thermometer to maintain consistent oven temperature.
- Store cooled cookies in an airtight container at room temperature for up to 5 days.
- Mini chocolate chips are optional but add extra richness.
Keywords: peppermint chocolate cookies, chocolate blossom cookies, holiday cookies, peppermint cookies, chocolate kisses cookies