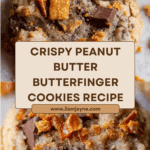
Butterfinger Cookies Recipe
Introduction
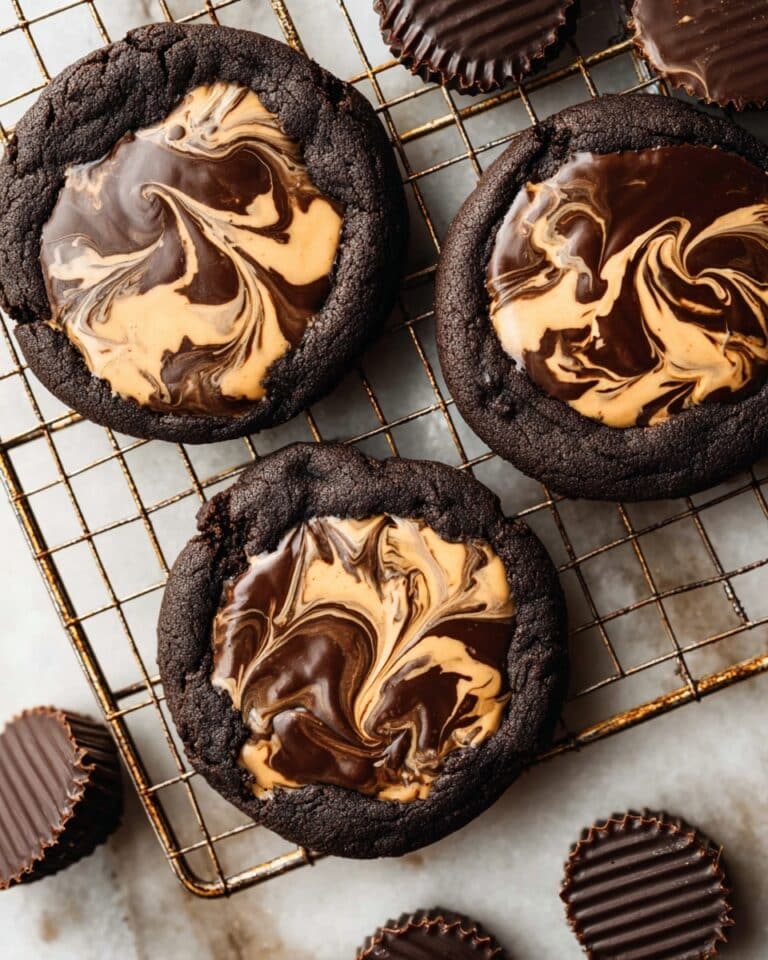
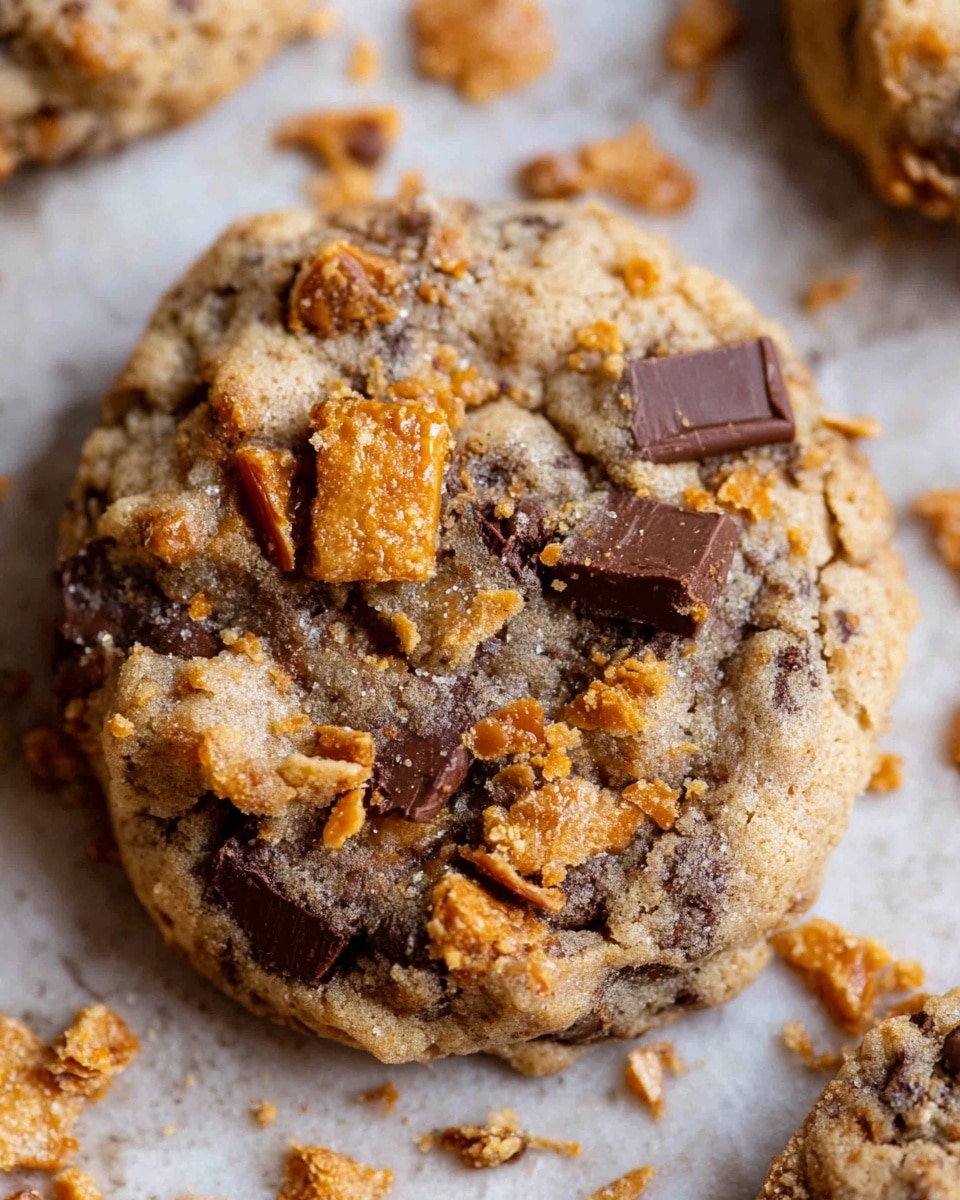
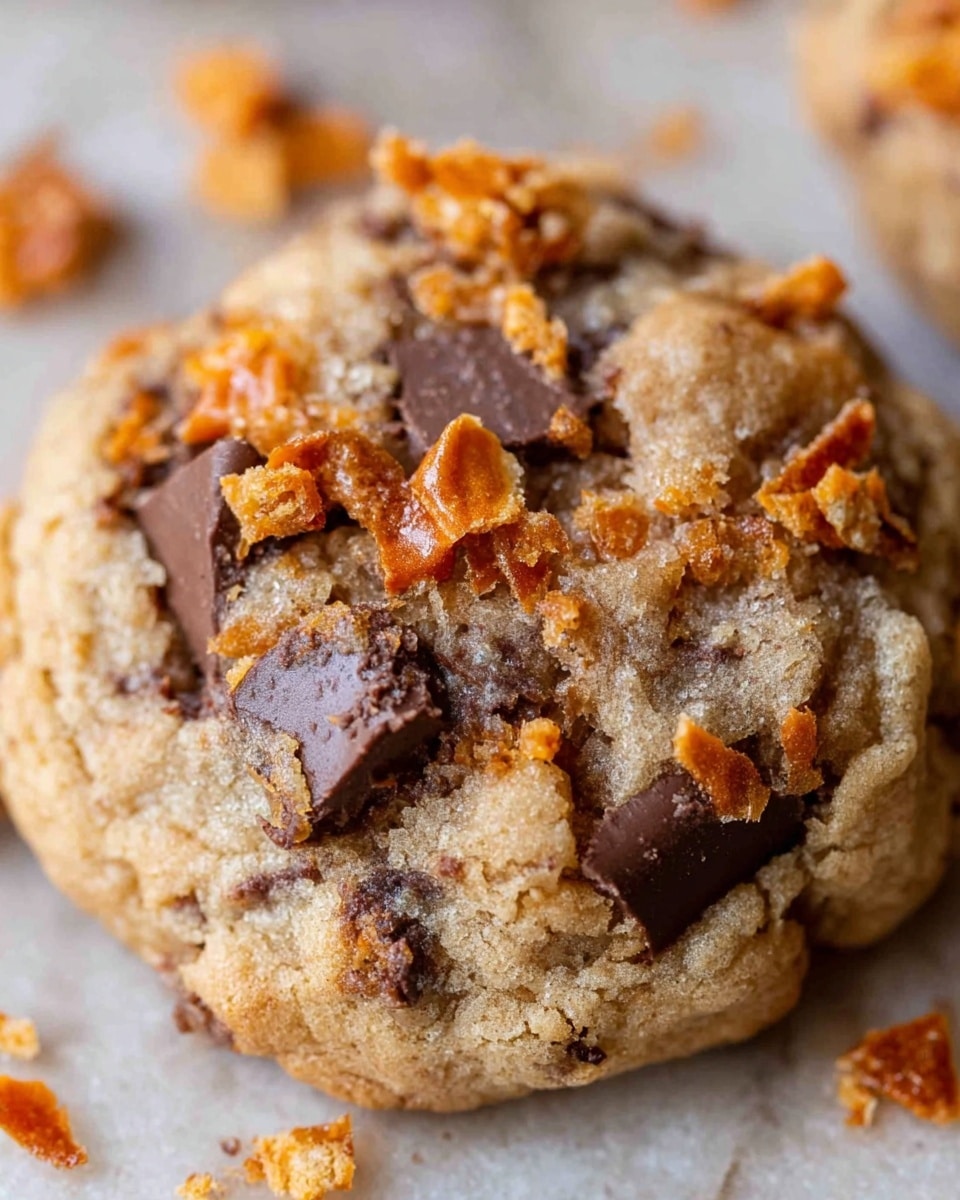
These Butterfinger Cookies combine the rich, creamy flavor of peanut butter with crunchy chunks of Butterfinger candy for a perfect balance of sweet and salty. They are delightfully crispy on the edges and soft in the center, making them a hit with anyone craving a nostalgic candy twist in their cookies.
Ingredients
- 3/4 cup butter (softened, 1 and 1/2 sticks)
- 1/2 cup granulated sugar
- 1/2 cup brown sugar (packed)
- 1 cup peanut butter (not natural, Jif recommended)
- 1 large egg
- 1 1/2 teaspoons vanilla extract
- 1 1/2 cups all-purpose flour (spooned and leveled)
- 1/2 teaspoon baking soda
- 1/2 teaspoon baking powder
- 1/4 teaspoon kosher salt
- 16 ounces Butterfinger candy, chopped (or 2 bags Butterfinger Bits if available)
Instructions
- Step 1: In a large bowl or stand mixer, beat the softened butter until smooth and creamy, scraping the sides as needed.
- Step 2: Add the granulated sugar and brown sugar, then beat for about 2 minutes until fluffy and smooth.
- Step 3: Mix in the peanut butter until well combined.
- Step 4: Add the egg and vanilla extract, beating until fully incorporated.
- Step 5: In a separate step, stir together the flour, baking soda, baking powder, and kosher salt to break up any clumps. Add this mixture to the wet ingredients.
- Step 6: Mix on low speed just until the dough starts to come together, with some flour still visible. Avoid over mixing to keep cookies tender.
- Step 7: Fold in the chopped Butterfinger pieces until just evenly distributed.
- Step 8: Cover the dough and chill it for 15 minutes up to 24 hours to develop flavor and texture.
- Step 9: Preheat the oven to 350°F (175°C), and line baking sheets with parchment paper or silicone mats.
- Step 10: Scoop the dough into 2-inch balls, packing the scoop to form firm cookies.
- Step 11: Place the cookie balls on the baking sheets at least 1 to 2 inches apart.
- Step 12: Bake for about 10 minutes until edges are set and centers are no longer shiny but still puffy.
- Step 13: If cookies haven’t spread enough, gently press the tops with a spatula after removing from the oven or just before done baking. Optionally, top with extra Butterfinger crumbles.
- Step 14: Let cookies cool on the pan for at least 5 minutes, then transfer to a wire rack to cool completely.
- Step 15: For best taste and texture, allow cookies to cool to room temperature before eating; the melted Butterfinger chips firm up once cooled.
Tips & Variations
- Use regular peanut butter rather than natural for better texture and flavor in the dough.
- If you cannot find Butterfinger Bits, chop 3 to 4 full-size Butterfinger bars into small pieces for mixing.
- Chilling the dough helps control spreading and improves flavor, so don’t skip this step.
- Pressing down slightly on the tops after baking helps cookies spread evenly if they seem too puffy.
Storage
Store baked cookies in an airtight container at room temperature for up to 3 days to maintain freshness. For longer storage, freeze dough balls in a ziplock bag for up to 3 months and bake them from frozen, adding an extra minute or two to baking time. Baked cookies can also be frozen in a sealed container for up to 4 weeks; allow them to thaw at room temperature before enjoying.
How to Serve
Serve this delicious recipe with your favorite sides.
FAQs
Can I use natural peanut butter instead of regular?
It’s best to use regular peanut butter, like Jif or Skippy, as natural peanut butter can affect the dough’s texture and may result in a greasier cookie.
How do I prevent the Butterfinger pieces from melting too much?
Chilling the dough before baking helps keep the pieces intact, and allowing cookies to cool completely before eating allows the Butterfinger chunks to firm up again.
PrintButterfinger Cookies Recipe

These Butterfinger Cookies combine rich peanut butter cookie dough with crunchy, sweet Butterfinger candy pieces for a delightful treat. With a soft, chewy texture punctuated by the crispiness of the Butterfinger chunks, these cookies are perfect for peanut butter lovers looking for a fun twist on classic cookies.
- Prep Time: 15 minutes
- Cook Time: 10 minutes
- Total Time: 25 minutes (plus chilling time if desired)
- Yield: About 25 cookies 1x
- Category: Dessert, Cookies
- Method: Baking
- Cuisine: American
Ingredients
Dry Ingredients
- 1 and 1/2 cups all-purpose flour (spooned and leveled)
- 1/2 teaspoon baking soda
- 1/2 teaspoon baking powder
- 1/4 teaspoon kosher salt
Wet Ingredients
- 3/4 cup butter (softened, 1 and 1/2 sticks)
- 1/2 cup granulated sugar
- 1/2 cup packed brown sugar
- 1 cup peanut butter (not natural, I prefer Jif)
- 1 large egg
- 1 and 1/2 teaspoons vanilla extract
Add-ins
- 16 ounces Butterfinger candy, chopped (or 2 8-ounce bags of Butterfinger Bits if available)
Instructions
- Cream Butter: In a large bowl or stand mixer, beat 3/4 cup softened butter until smooth and creamy, scraping the sides of the bowl to ensure even mixing.
- Add Sugars: Add 1/2 cup granulated sugar and 1/2 cup packed brown sugar to the creamed butter. Beat well for about 2 minutes until the mixture is fluffy and no butter chunks remain.
- Incorporate Peanut Butter: Add 1 cup peanut butter and mix until combined, ensuring the peanut butter is well blended with the butter and sugar mixture.
- Add Egg and Vanilla: Add 1 large egg and 1 and 1/2 teaspoons vanilla extract. Beat until fully combined, scraping sides of the bowl occasionally.
- Prepare Dry Ingredients: Spoon and level 1 and 1/2 cups all-purpose flour into the bowl. Add 1/2 teaspoon baking soda, 1/2 teaspoon baking powder, and 1/4 teaspoon kosher salt on top of the flour. Stir gently with a teaspoon to break up clumps and evenly distribute the leavening agents and salt.
- Combine Dry and Wet: Turn the mixer on low to combine dry ingredients into the dough. Mix just until the dough starts to come together but still has some visible flour. Stop mixing to avoid overworking the dough.
- Add Butterfinger Chunks: Gently fold in 16 ounces of chopped Butterfinger candy pieces until just incorporated. Be careful not to overmix to maintain the dough texture.
- Chill Dough: Cover the bowl and chill the dough for 15 minutes up to an hour, or even up to 24 hours for enhanced flavor and texture. Cooling helps the dough firm up and flavors meld.
- Preheat Oven and Prepare Sheets: Preheat your oven to 350°F (175°C). Line two baking sheets with parchment paper or silicone mats for easy cookie removal and cleanup.
- Shape Cookies: Using a cookie scoop or spoon, form dough into 2-inch balls. Place the balls onto the prepared baking sheets, spacing them at least 1 to 2 inches apart to allow for spreading.
- Bake: Bake cookies at 350°F for about 10 minutes. The edges should be set and the centers no longer shiny. The cookies will be puffed up and may still be somewhat ball-shaped.
- Flatten if Needed: If cookies have not spread enough, use a spatula to gently press down on each cookie—either right after taking them out or about 2 minutes before the bake time ends. Optionally, top each cookie with extra Butterfinger crumbles if you have any leftover.
- Cool: Allow cookies to set on the baking sheet for at least 5 minutes before transferring to a wire rack to cool completely.
- Serving: These cookies are best eaten at room temperature, as the Butterfinger pieces become chewy and less desirable when warm.
- Storage: Store leftover cookies in a tightly sealed container for up to 3 days. Cookie dough freezes well for up to 3 months; bake from frozen with a slightly extended bake time, and press the cookies to spread after baking. Baked cookies can be frozen up to 4 weeks and thawed sealed at room temperature.
Notes
- If you can’t find Butterfinger Bits, chop approximately 3 to 4 full-sized Butterfinger candy bars (usually about 1.5 ounces each) to make up 16 ounces.
- Be careful not to overmix the dough once the flour is added to avoid tough cookies.
- Chilling the dough improves flavor and texture but is not mandatory.
- Use regular peanut butter like Jif, not natural peanut butter, for the best texture.
- Cookies flatten better if you gently press them with a spatula after baking or shortly before baking ends.
Keywords: Butterfinger cookies, peanut butter cookies, candy cookie recipe, crunchy peanut butter cookies, holiday cookies