No-Bake Biscoff Cheesecake Cups Recipe
Introduction
No-Bake Biscoff Cheesecake Cups offer a deliciously creamy dessert that’s simple to make and perfect for any occasion. Combining the rich flavor of Biscoff cookies with a light cheesecake filling, these cups are an indulgent treat that requires no oven time.
Ingredients
- About 30 Lotus Biscoff biscuits
- 2 tablespoons unsalted butter, melted
- 16 oz (2 cups) heavy cream
- 8 oz cream cheese, at room temperature
- ½ cup powdered sugar
- ½ cup Biscoff (cookie butter) spread, plus extra for topping
- 1 teaspoon vanilla extract
- Garnish: halved Biscoff cookies and reserved cookie crumbs
Instructions
- Step 1: Crush the Biscoff biscuits into fine crumbs using a food processor or a rolling pin. Mix the crumbs with the melted butter, saving a few tablespoons of crumbs for decoration.
- Step 2: Press about 2–3 tablespoons of the crumb mixture firmly into the bottom of each dessert cup or glass. Set the cups aside while you prepare the filling.
- Step 3: Whip the heavy cream in a bowl until stiff peaks form.
- Step 4: In a separate bowl, beat together the cream cheese, powdered sugar, Biscoff spread, and vanilla extract until smooth and creamy.
- Step 5: Gently fold the whipped cream into the cream cheese mixture until fully incorporated and light.
- Step 6: Transfer the cheesecake filling into a piping bag and pipe it evenly into each prepared cup over the crust.
- Step 7: Melt about ½ cup of Biscoff spread in the microwave until pourable. Carefully layer the melted spread on top of the cheesecake filling in each cup.
- Step 8: Garnish each cup with halved Biscoff cookies and sprinkle with the reserved cookie crumbs.
- Step 9: Refrigerate the cups for at least 4 hours, or preferably overnight, until fully set. Serve chilled.
Tips & Variations
- Make sure your cream cheese is softened to room temperature for a smooth filling without lumps.
- Whip the cream to stiff peaks to achieve a light, airy texture in the cheesecake.
- For a fruity twist, add a layer of berry compote between the crust and filling.
- Drizzle melted dark chocolate on top or mix cocoa powder into the filling for a chocolate variation.
- Use a piping bag for a neat, professional presentation.
Storage
Store the cheesecake cups covered in the refrigerator for up to 3 days. They are best enjoyed chilled. To serve, simply remove from the fridge and let sit for a few minutes at room temperature for optimal flavor and texture. These cups do not freeze well due to the creamy filling.
How to Serve
Serve this delicious recipe with your favorite sides.
FAQs
Can I use regular cream cheese instead of room temperature?
It’s best to use cream cheese at room temperature to avoid lumps and ensure a smooth, creamy filling. Cold cream cheese can be difficult to mix evenly.
Can I substitute Biscoff spread with peanut butter or Nutella?
While peanut butter or Nutella can be used as substitutes, they will alter the flavor profile. Biscoff spread provides a unique spiced caramel flavor that defines this dessert.
PrintNo-Bake Biscoff Cheesecake Cups Recipe
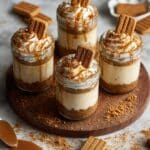
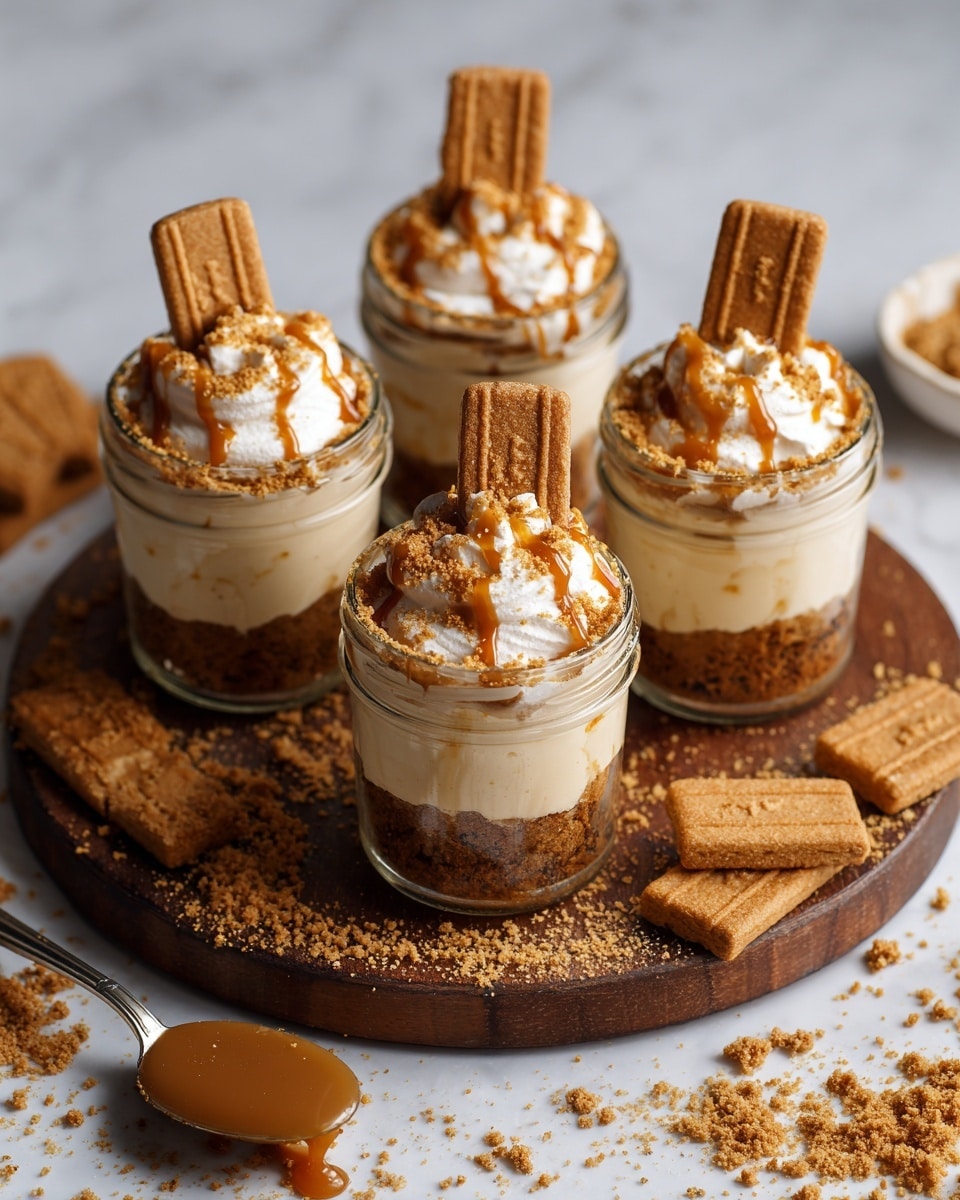
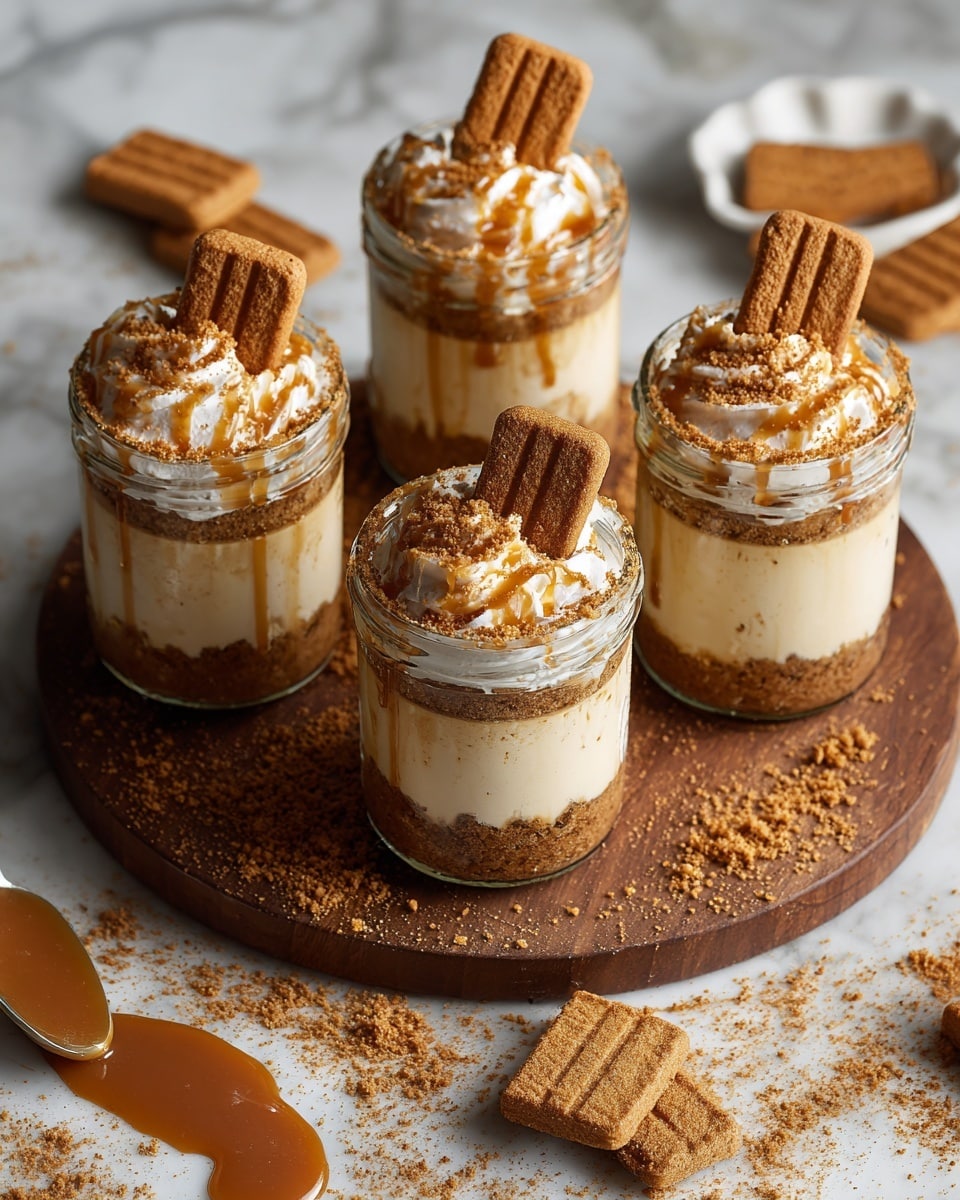
Delight in the rich, creamy No-Bake Biscoff Cheesecake Cups—a luxurious dessert combining the warm, spiced flavor of Lotus Biscoff biscuits and cookie butter with a light, airy cheesecake filling atop a buttery, crunchy crust. Perfectly portioned in cups, these no-bake treats require no oven, just chilling, making them a foolproof and elegant choice for any occasion.
- Prep Time: 20 minutes
- Cook Time: 0 minutes
- Total Time: 4 hours 20 minutes
- Yield: Makes about 8 regular cups or 20–24 mini cups 1x
- Category: Dessert
- Method: No-Cook
- Cuisine: Belgian-inspired
- Diet: Vegetarian
Ingredients
Crust
- About 30 Lotus Biscoff biscuits
- 2 tablespoons unsalted butter, melted
Filling
- 16 oz (2 cups) heavy cream
- 8 oz cream cheese, at room temperature
- ½ cup powdered sugar
- ½ cup Biscoff (cookie butter) spread, plus extra for topping
- 1 teaspoon vanilla extract
Garnish
- Halved Biscoff cookies
- Reserved cookie crumbs from crust mixture
Instructions
- Prepare the crust: Crush the Lotus Biscoff biscuits into fine crumbs using a food processor or rolling pin. Mix the crumbs with melted unsalted butter, reserving a few tablespoons of the crumb mixture for decoration. Press about 2 to 3 tablespoons of this crust mixture firmly into the bottom of each dessert cup or glass. Set aside.
- Whip the cream: In a large bowl, whip the heavy cream until stiff peaks form, creating a light and fluffy texture necessary for the filling.
- Make the cheesecake filling: In another bowl, beat together room temperature cream cheese, powdered sugar, Biscoff spread, and vanilla extract until the mixture is smooth and creamy. Carefully fold in the whipped cream until fully incorporated, ensuring a light, airy consistency.
- Assemble the cups: Transfer the cheesecake filling into a piping bag and pipe it evenly into each prepared dessert cup over the crust layer for a neat, professional appearance.
- Add the Biscoff topping: Melt about ½ cup of Biscoff spread in the microwave until it becomes pourable. Spoon or layer this melted spread over the cheesecake filling in each cup to form a glossy, flavorful finish.
- Garnish and chill: Decorate each cup with halved Lotus Biscoff cookies and sprinkle reserved cookie crumbs on top. Refrigerate the assembled cups for at least 4 hours, or preferably overnight, until the cheesecake sets firmly. Serve chilled for best taste and texture.
Notes
- Ensure cream cheese is softened to room temperature for a smooth, lump-free filling.
- Whip the heavy cream to stiff peaks before folding into the cream cheese mixture to achieve a light, airy texture.
- Press the crust mixture firmly into the cups to maintain a sturdy base after chilling.
- Use a piping bag for filling the cups to create a professional, clean look.
- Chill the cheesecake cups for at least 4 hours; overnight chilling is ideal for best set and flavor development.
- Optional variations: Add berry compote layers, drizzle with melted dark chocolate, or sprinkle cocoa powder for flavor twists.
- Perfect for make-ahead dessert needs and easy transport to parties or events.
Keywords: No-Bake Cheesecake, Biscoff Cheesecake Cups, Lotus Biscoff Dessert, Cookie Butter Cheesecake, Easy No-Bake Dessert, Party Desserts, Individual Cheesecake Cups