Viral Parmesan Onion Rings Recipe
Introduction
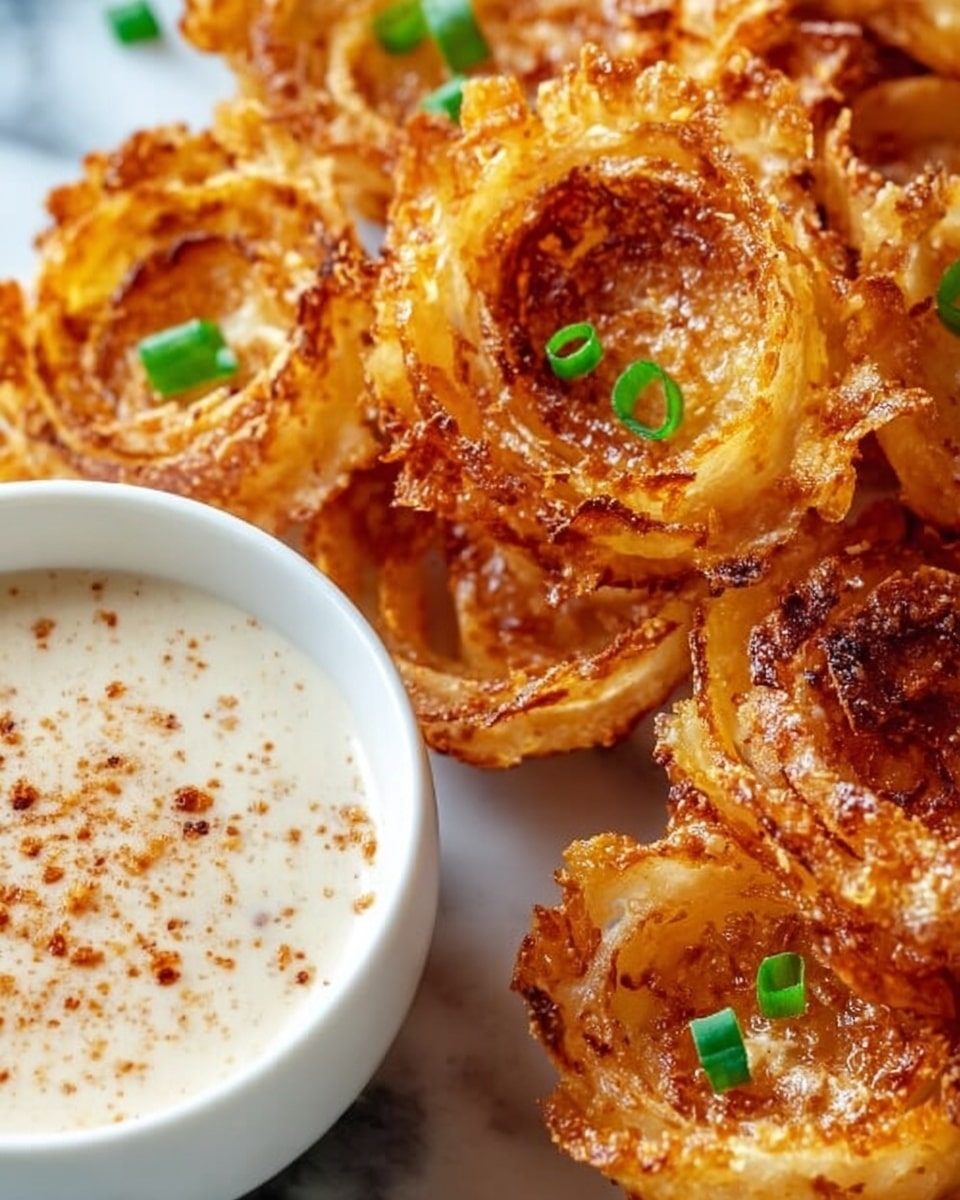
These viral Parmesan onion rings are a crispy, cheesy twist on a classic snack. With just a few simple ingredients, you can create a deliciously crunchy treat that’s perfect for keto and low-carb diets. Ready in under 30 minutes, they’re a crowd-pleaser for any occasion.
Ingredients
- 2 white onions, sliced into 1/4 inch thick rings
- 2 cups shredded Parmesan cheese
- Salt, to taste
- Garlic powder, to taste
- Paprika, to taste
- Italian seasoning, to taste
Instructions
- Step 1: Preheat your oven to 400°F (200°C) and line a baking sheet with parchment paper.
- Step 2: For each onion ring, place about 1 tablespoon of shredded Parmesan cheese onto the parchment paper to form a small cheese “mold.”
- Step 3: Lay an onion ring on top of the cheese mold.
- Step 4: Sprinkle another tablespoon of shredded Parmesan cheese over the onion ring.
- Step 5: Gently press down with the back of a spoon to flatten slightly and help the cheese adhere to the onion.
- Step 6: Season the tops with salt, garlic powder, paprika, and Italian seasoning to your preference.
- Step 7: Bake the onion rings for 15–20 minutes, or until the cheese is golden and crisp around the edges.
- Step 8: Let the onion rings cool for 10–15 minutes before serving to allow them to set and become extra crispy.
Tips & Variations
- Use freshly shredded Parmesan for better melting and crispiness compared to pre-grated cheese.
- Try adding a pinch of cayenne pepper for a spicy kick.
- For a dairy-free version, experiment with a hard vegan cheese alternative that melts well.
- If you prefer softer onions, soak the slices in cold water for 10 minutes before assembling.
Storage
Store leftover Parmesan onion rings in an airtight container in the refrigerator for up to 3 days. To reheat, place them on a baking sheet and warm in a 350°F (175°C) oven for 5–7 minutes to restore their crispiness. Avoid microwaving, as it can make them soggy.
How to Serve
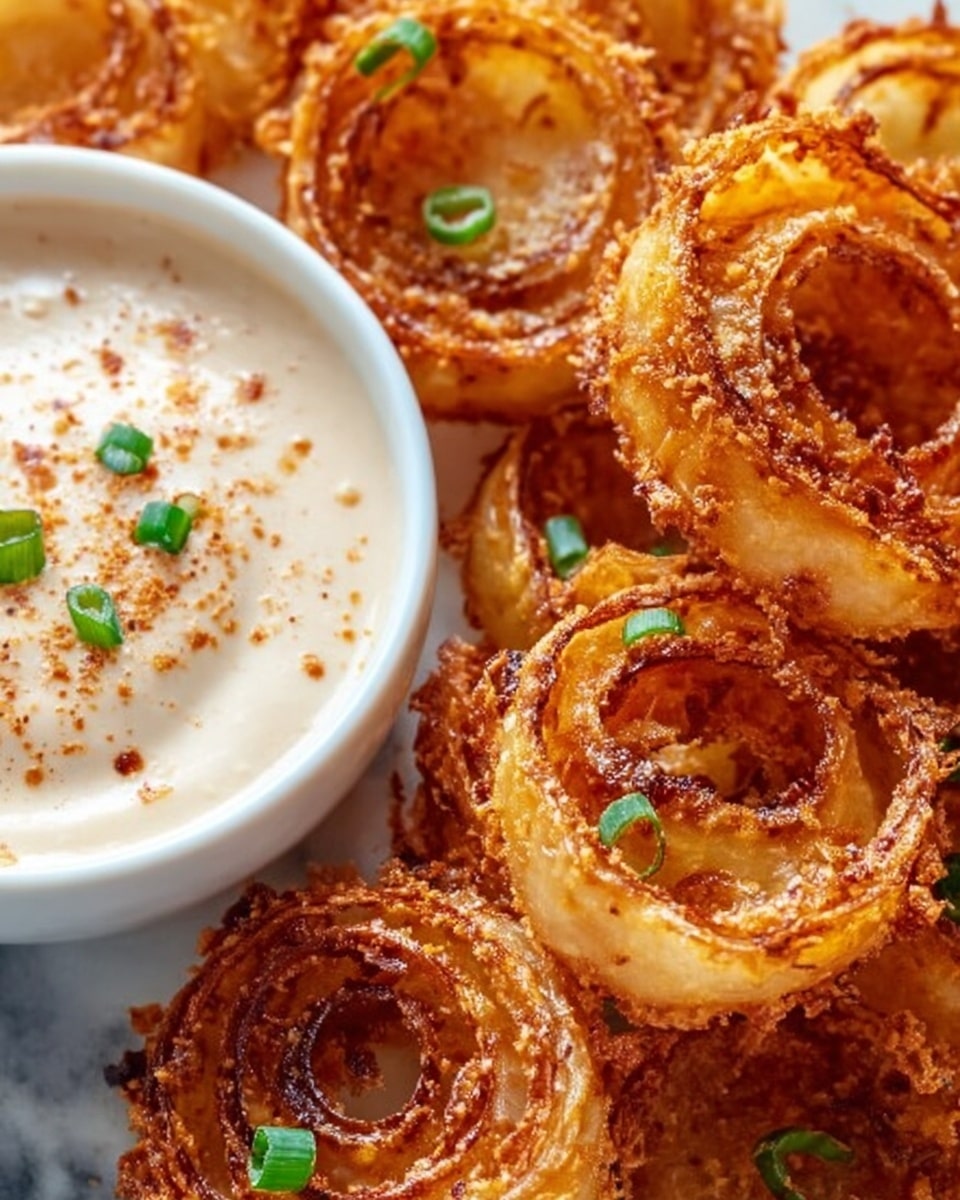
Serve this delicious recipe with your favorite sides.
FAQs
Can I use other types of onions for this recipe?
Yes, you can use yellow or sweet onions if you prefer, but white onions tend to have a milder flavor that works well with the Parmesan.
Are these onion rings suitable for a keto diet?
Absolutely! They are low in carbs and high in protein and fat, making them a perfect keto-friendly snack option.
PrintViral Parmesan Onion Rings Recipe

Deliciously crispy Viral Parmesan Onion Rings that offer a healthier, keto-friendly alternative to traditional fried onion rings. These baked onion rings are coated in Parmesan cheese and seasoned with garlic, paprika, and Italian herbs, resulting in a flavorful, crunchy snack perfect for any occasion.
- Prep Time: 10 minutes
- Cook Time: 15-20 minutes
- Total Time: 25-30 minutes
- Yield: 4–5 servings 1x
- Category: Snack
- Method: Baking
- Cuisine: American
- Diet: Low Carb
Ingredients
Onions
- 2 white onions, sliced into 1/4 inch thick rings
Parmesan Cheese
- 2 cups shredded Parmesan cheese
Seasonings
- Salt, to taste
- Garlic powder, to taste
- Paprika, to taste
- Italian seasoning, to taste
Instructions
- Preheat Oven: Preheat your oven to 400°F (200°C) and line a baking sheet with parchment paper to prepare for baking the onion rings.
- Create Cheese Mold: For each onion ring, place about 1 tablespoon of shredded Parmesan cheese directly onto the parchment paper to form a small circular cheese base, which will act as a mold.
- Layer Onion Rings: Place one onion ring slice on top of each cheese mold on the baking sheet.
- Add More Cheese: Sprinkle another tablespoon of shredded Parmesan cheese over the top of each onion ring to cover it evenly.
- Press and Season: Gently press down with the back of a spoon to flatten the cheese slightly and ensure it sticks well around the onion. Then, season the top of each onion ring with salt, garlic powder, paprika, and Italian seasoning to your taste preference.
- Bake: Place the baking sheet in the preheated oven and bake the onion rings for 15 to 20 minutes, or until the cheese is golden brown and crisp around the edges.
- Cool Down: Remove the onion rings from the oven and let them cool on the baking sheet for 10 to 15 minutes. This resting period helps them set properly and become extra crispy before serving.
Notes
- One serving consists of approximately 4 to 5 onion rings, depending on the thickness of the onion slices and the amount of cheese used.
- Make sure to press the cheese firmly so it adheres well to the onion and crisps nicely during baking.
- These onion rings are best enjoyed fresh for maximum crunchiness but can be reheated briefly in the oven.
- Adjust seasoning quantities to fit your personal taste preferences.
- Use freshly shredded Parmesan for best melting and crisping results rather than pre-grated cheese.
Keywords: Parmesan onion rings, baked onion rings, keto onion rings, low carb snack, crispy onion rings, gluten free snack, American snack recipe